
How to import CSV files in Django via JavaScript with UseCSV
Jun 1, 2022
If you're a Django developer looking to integrate CSV import into your app, UseCSV is a great option. It's easy to use and can help you avoid some of the common problems associated with building CSV import yourself.
What is UseCSV?
UseCSV is an all-in-one CSV import product that gives you a delightful CSV importer experience for your users. All you have to do is drop-in the UseCSV JS library, and create a webhook endpoint to receive uploads. This takes away all the headaches of building CSV import functionality in-house .
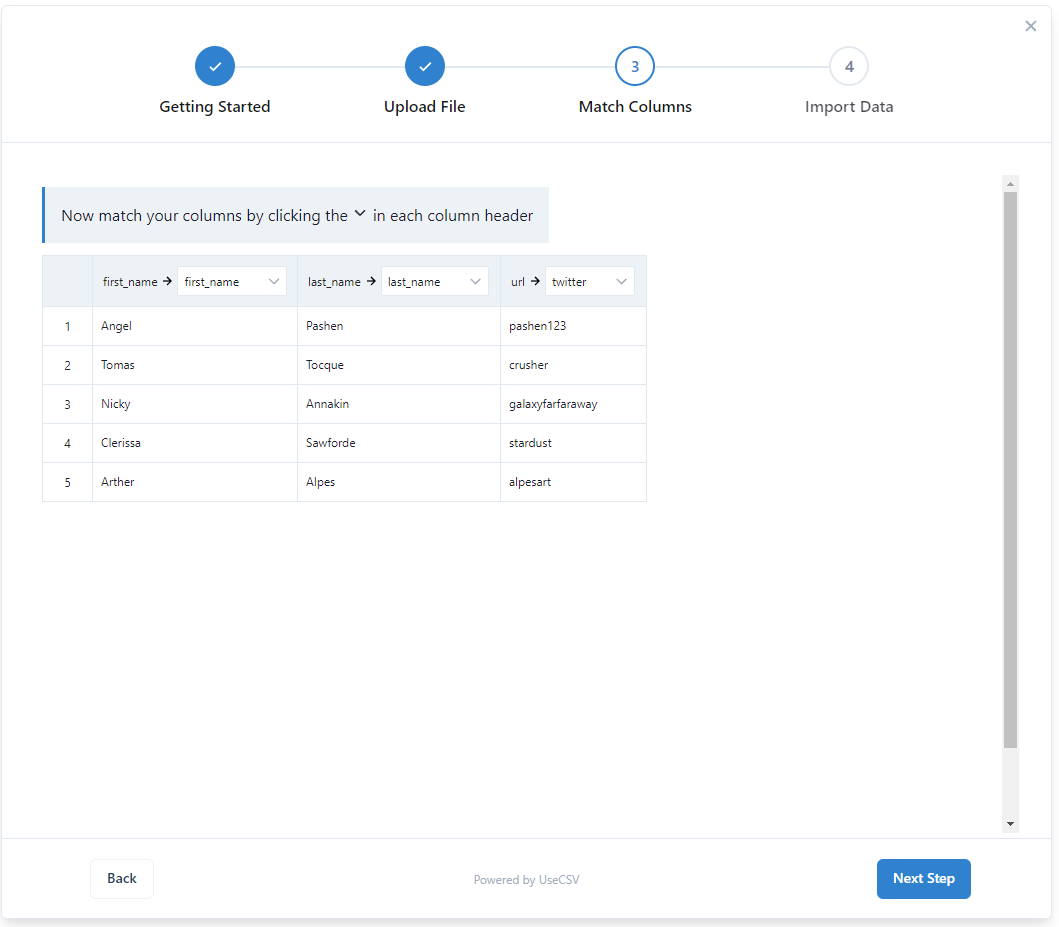
Here's a sneak peak of what the import experience will be for your users (this opens in a modal inside your app):
Here are just a few of the awesome features of UseCSV:
- Frontend libraries which add the UseCSV import button and modal to your app
- Receive imported data as a webhook or callback
- Automatic smart column matching
- Supports CSV and all Excel formats (xlsx, xls, xlt), including legacy Excel versions
- Handles large import files
- Includes a library of common validation rules to choose from
Without further ado, let's get started!
Setting up your UseCSV account
To set up your free UseCSV developer account, simply follow this link - no credit card details required - just an email address or Gmail account. Once completed, you will be automatically directed the to UseCSV dashboard.
This dashboard will give you an overview of your CSV importers, a link to the documentation, API keys, account settings, and billing. In the top right corner is the 'Add Importer' button. This button will give you the ability to create a new data model for your CSV imports.
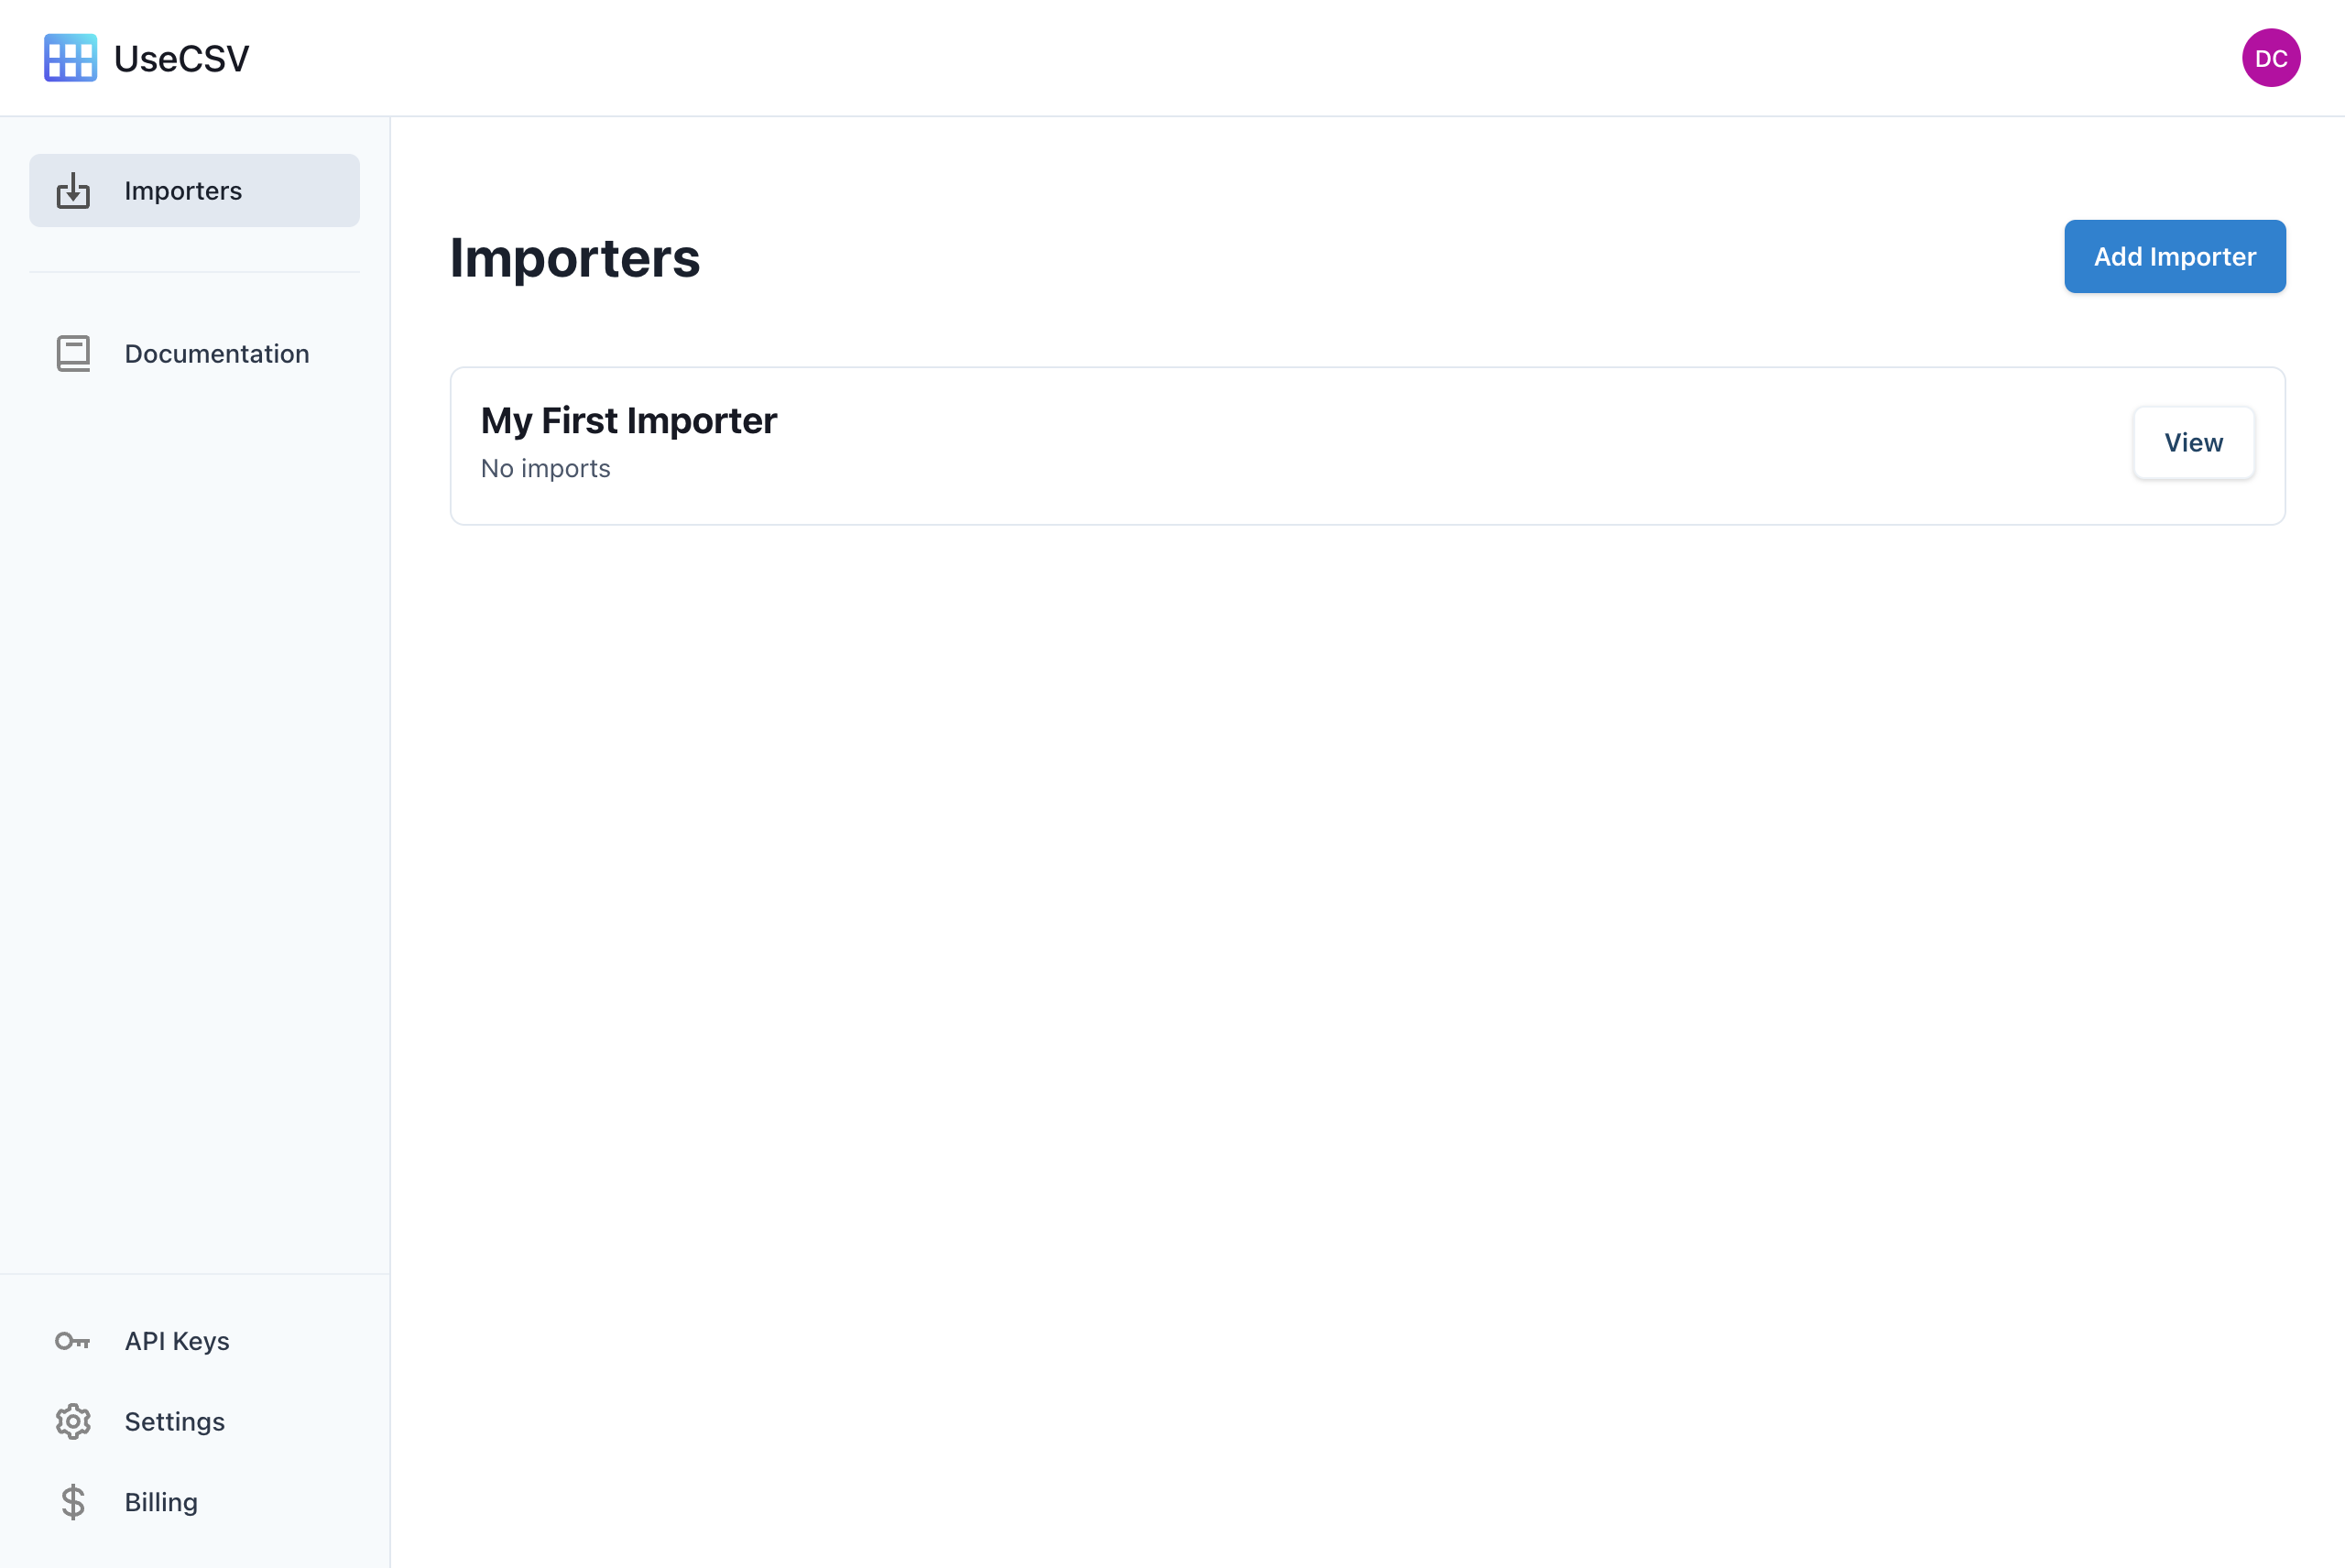
To edit a current data model, click on the View button that is on the same row as your selected importer. When you create an account, there an importer already created for you called 'My First Importer'. Click View to configure visit the importer settings:
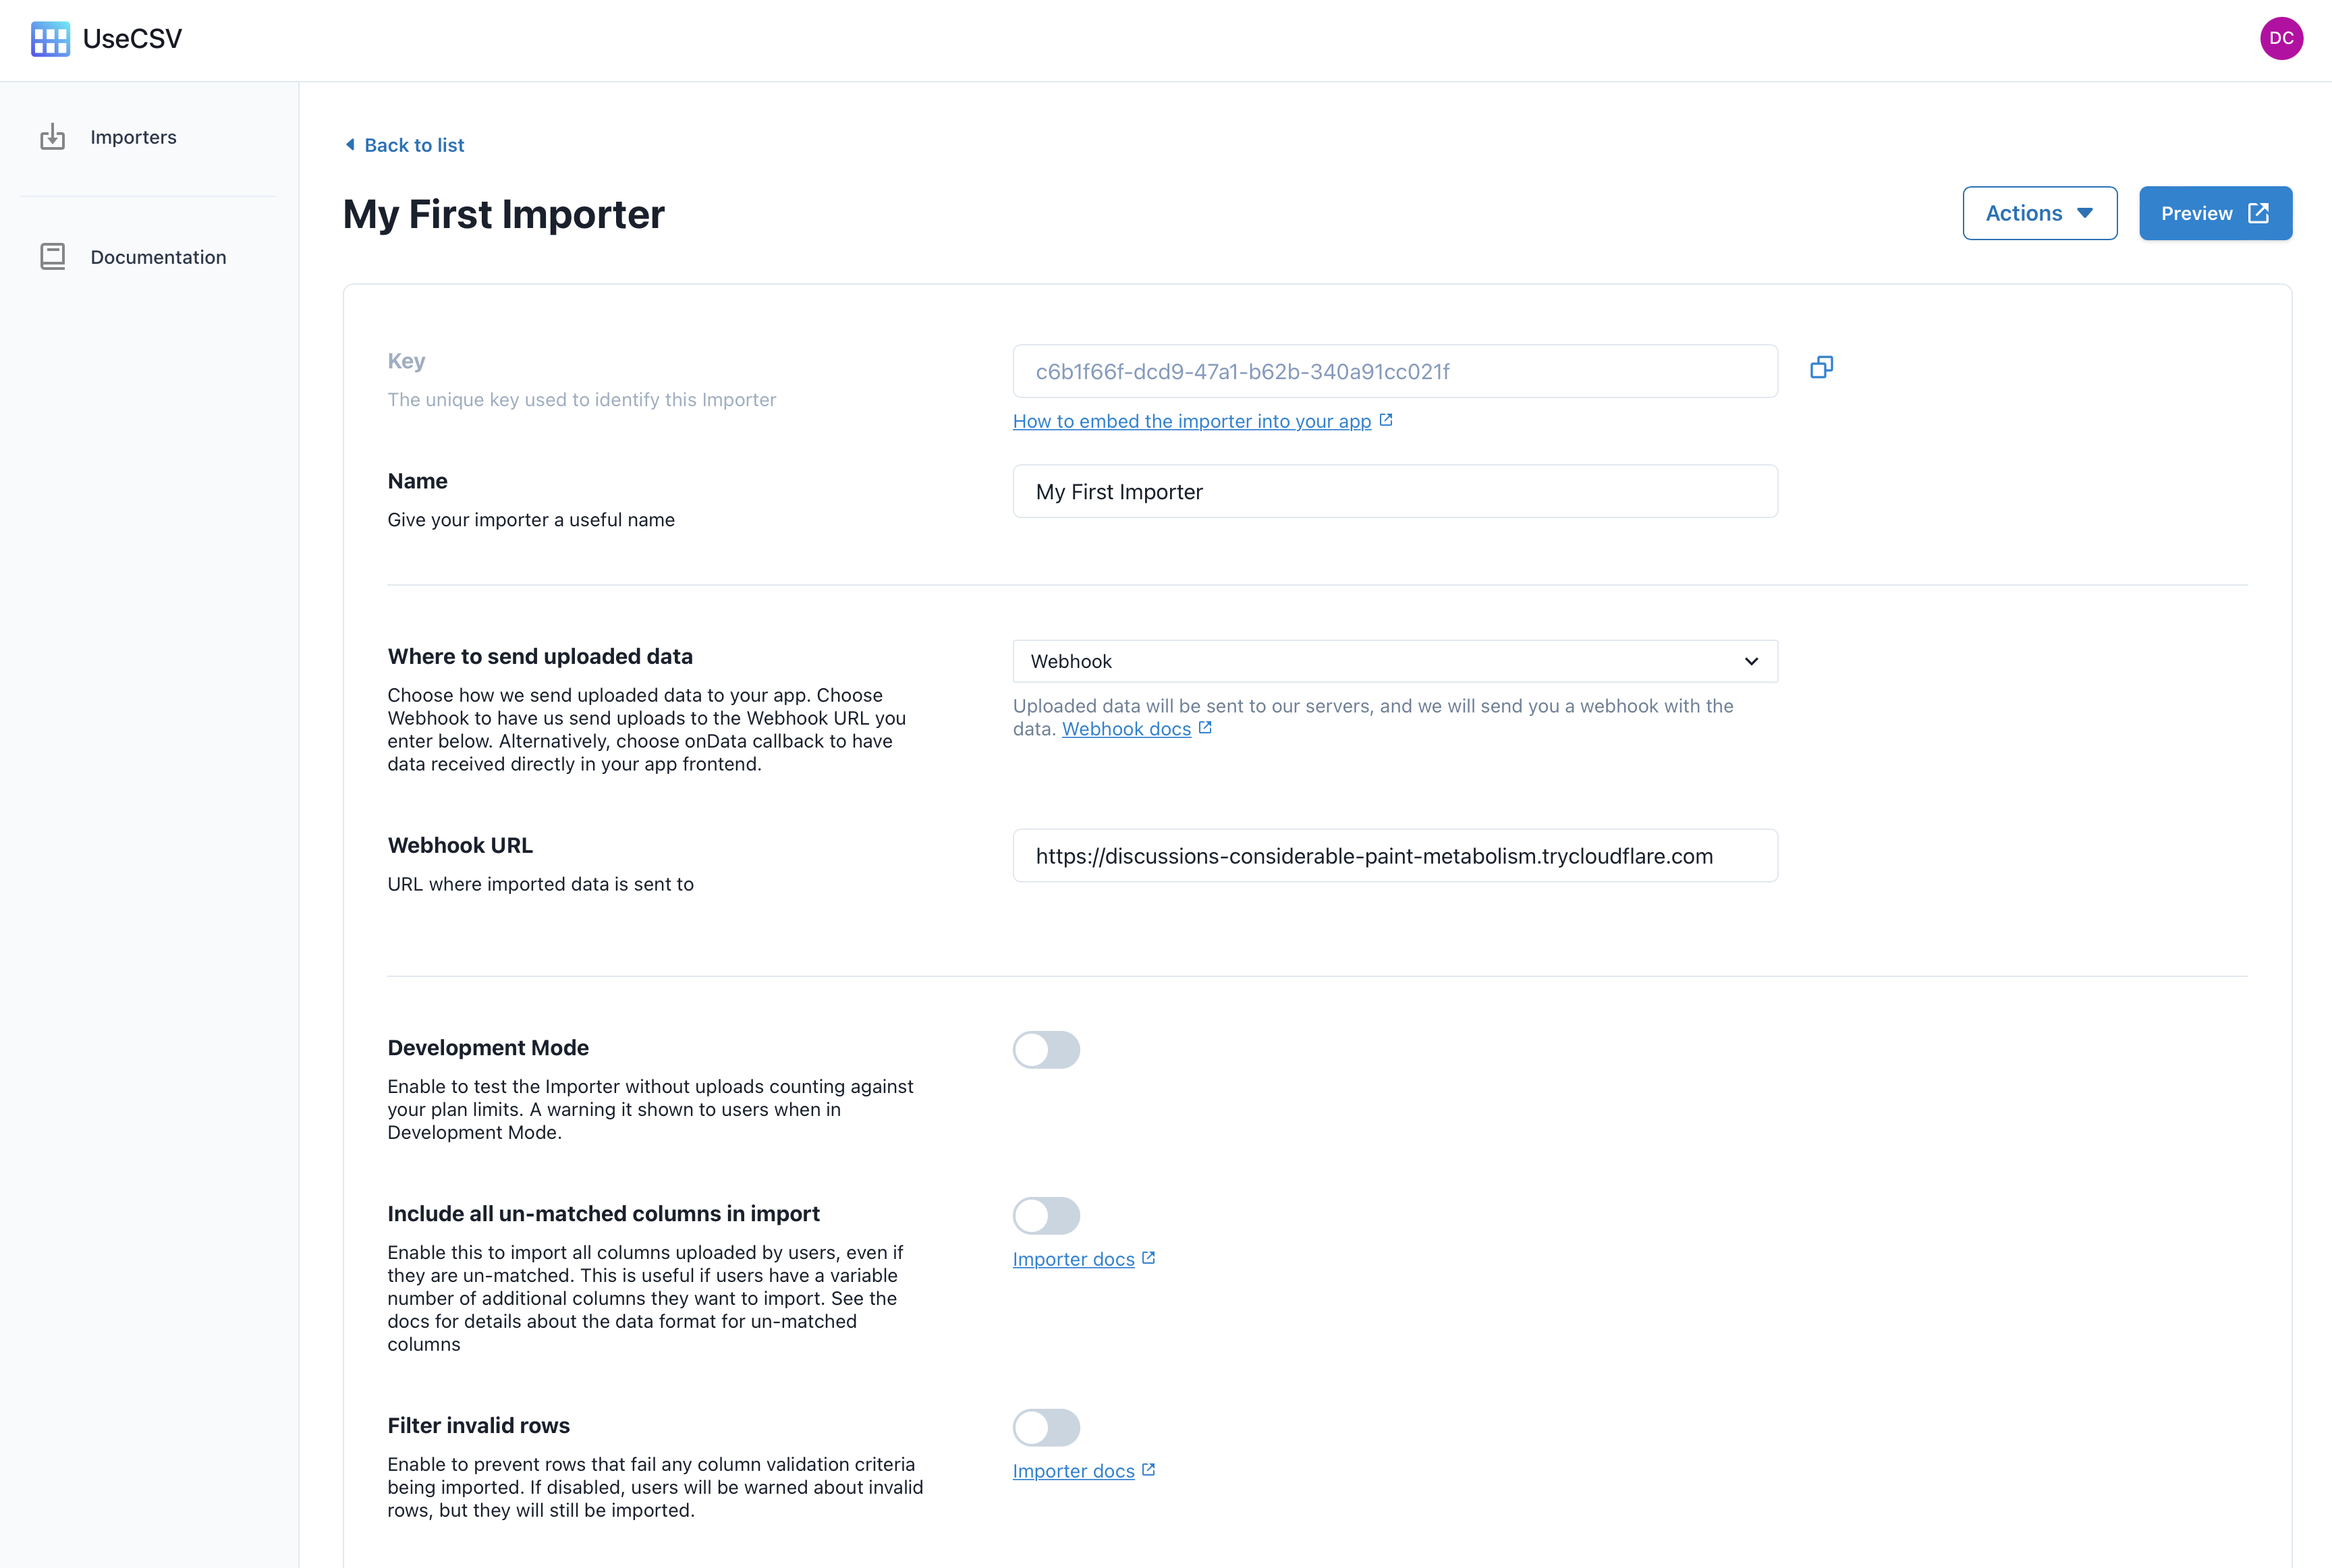
Head down to the Column section, where you can setup the data model for this importer.
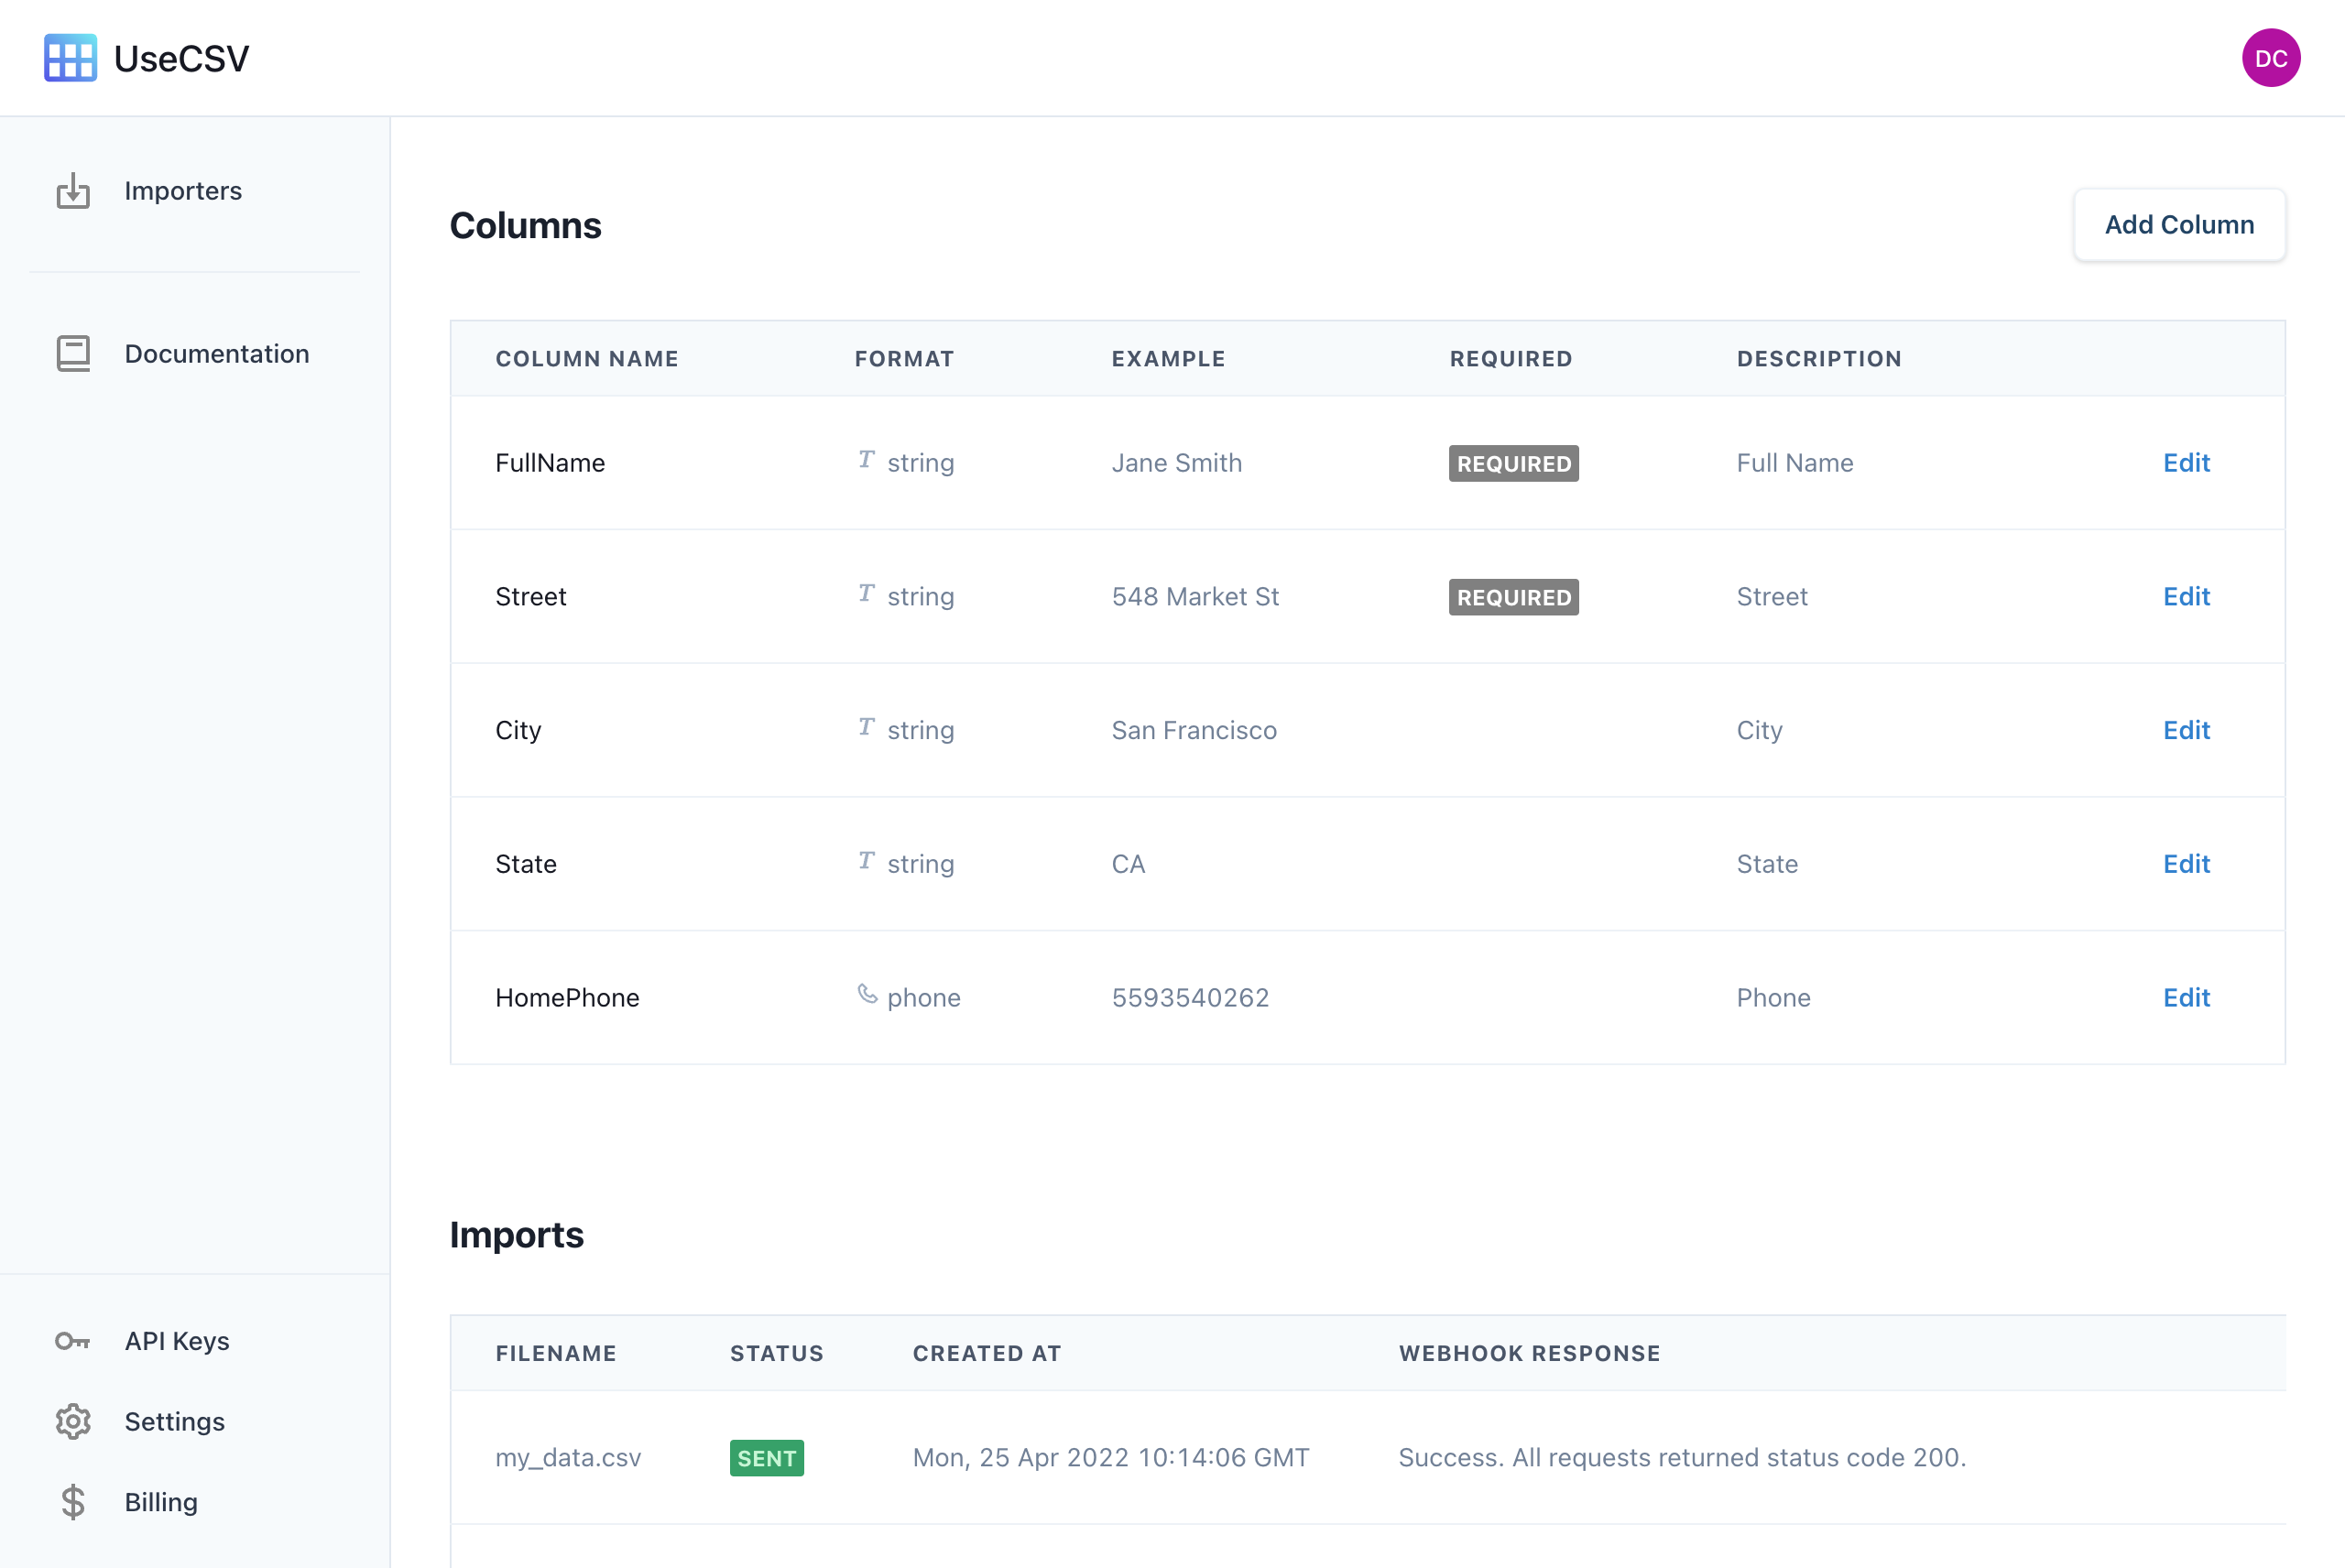
Click Add Column to create a new column, for example you could add a first_name column to begin with. Create as many columns as you like.

Add CSV import to your Django app
Including the UseCSV JS library into your Django front end is just like importing any JS lib.
Simply add in the script tag to the UseCSV JS (see the docs. Anyhwere in your app, or in your app's <head> add:
<script src="https://unpkg.com/@usecsv/js/build/index.umd.js"></script>
Then you can create an onclick importData() helper function like below, using whichever frontend framework you're using (also see the docs).
UseCSV accepts 3 parameters: importerKey, user, and metadata. The importerKey is the only compulsory parameter and enables you to connect with the data model you previously created.
user allows you to pass through user data that can help your endpoint identify who the import data belongs to. metadata accepts objects, meaning that you can pass any additional data with your import.
<script type="text/javascript"> function importData(){ useCsvPlugin({ importerKey: "your-importer-key", user: { userId: "12345" }, metadata: { anotherId: "1" }, }); } </script>
Step 3: Add the CSV import button
The next step is to create an import button that invokes the importData() function when clicked.
<button type="button" id="import-data-button" onclick="importData()"> Import Data </button>
Start your Django project, and try clicking the Import Data button. A pop up modal with UseCSV's import process will appear.
Receive webhook data from imports
UseCSV will send imported data to the Webhook URL specified in the UseCSV admin. We need to create a webhook endpoint in your Django app to receive the requests.
Create a new view like below (note they we have previously added WEBHOOK_SECRET to the app settings, using the value shown in the UseCSV admin):
import datetime as dt import json import logging from secrets import compare_digest from django.conf import settings from django.http import HttpResponseForbidden from django.http import JsonResponse from django.views.decorators.csrf import csrf_exempt from django.views.decorators.http import require_POST @csrf_exempt @require_POST @non_atomic_requests def usecsv_webhook(request): given_token = request.headers.get("WEBHOOK_SECRET", "") if not compare_digest(given_token, settings.WEBHOOK_SECRET): return HttpResponseForbidden( "Incorrect secret in WEBHOOK_SECRET header.", content_type="text/plain", ) payload = json.loads(request.body) logging.info(request.body) return JsonResponse({ }) # Return row import errors in JSON response if needed
We can add a URL mapping to our view with the standard path():
from django.urls import path from example.core.views import usecsv_webhook urlpatterns = [ ..., path( "webhooks/usecsv", usecsv_webhook, ), ]
To connect this locally running webhook endpoint up with your UseCSV importer, you can use a free Cloudflare tunnel:
cloudflared tunnel localhost:8000
If your Cloudflare commands are successful, you will get something like this:
2022-01-29T23:40:16Z INF Thank you for trying Cloudflare Tunnel. Doing so, without a Cloudflare account, is a quick way to experiment and try it out. However, be aware that these account-less Tunnels have no uptime guarantee. If you intend to use Tunnels in production you should use a pre-created named tunnel by following: https://developers.cloudflare.com/cloudflare-one/connections/connect-apps 2022-01-29T23:40:16Z INF Requesting new quick Tunnel on trycloudflare.com... 2022-01-29T23:40:17Z INF +--------------------------------------------------------------------------------------------+ 2022-01-29T23:40:17Z INF | Your quick Tunnel has been created! Visit it at (it may take some time to be reachable): | 2022-01-29T23:40:17Z INF | https://wan-attract-tin-exposure.trycloudflare.com | 2022-01-29T23:40:17Z INF +--------------------------------------------------------------------------------------------+
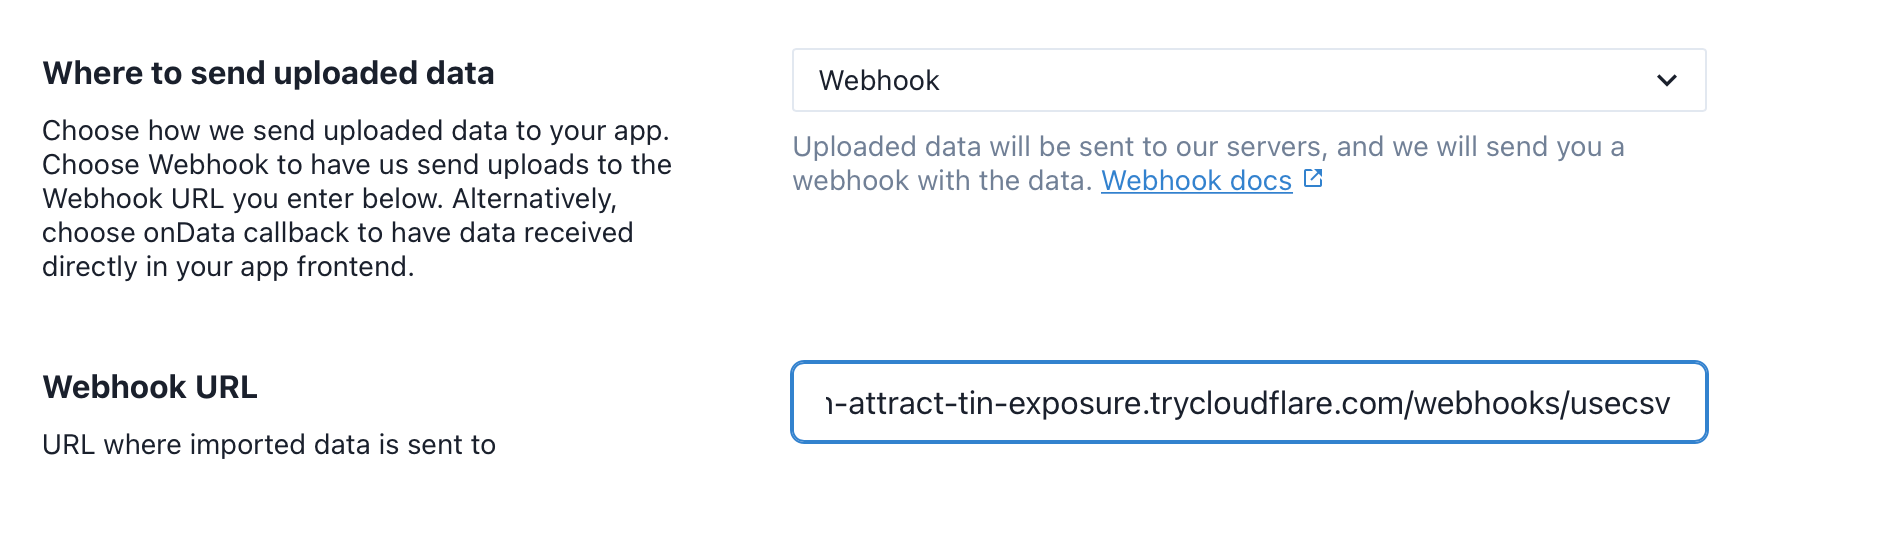
Use the tunnel link and paste it into the Webhook URL field to finish connecting everything up.
We're ready to try your first import
Make sure your Django server is running. Go to your localhost frontend and click on Import Data to open the importer modal.
Upload your CSV file, match the columns and then click import.

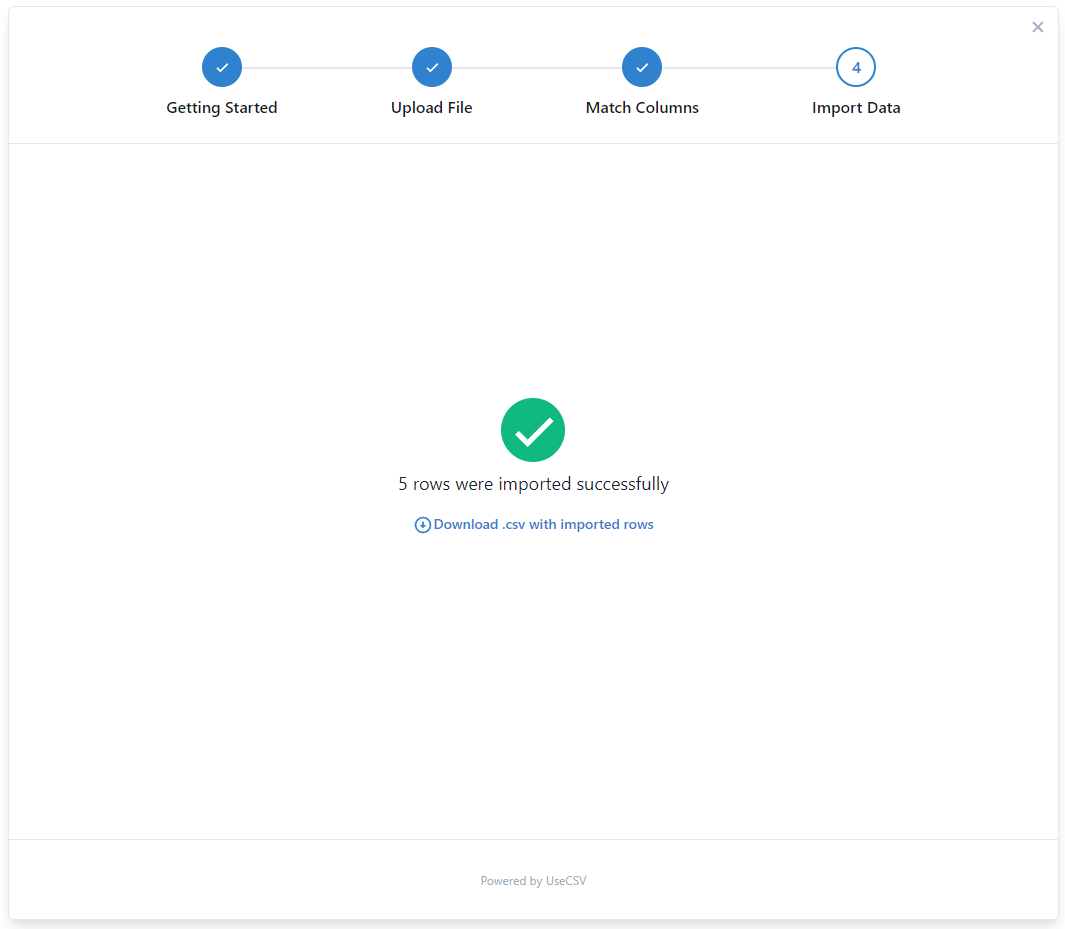
Watch your console log for the webhook payload. UseCSV will automatically split up the webhooks into batches of 1,000 rows.
Where to from here?
UseCSV makes it simple to add delightful CSV import to your app. There are many powerful features under the hood including themes and validation rules. Checkout the docs for more info.

