
Add CSV file import to Next.js with UseCSV
Apr 27, 2022
Next.js is our favorite React based framework to use in production apps. Importing CSV and Excel files is a feature everyone has to build eventually. Whilst there are a handful of CSV parser libraries out there, you're left to build the UI yourself. We're going to show you how to add CSV file import with a delightful UI to your Next.js app in just a few minutes.
What is UseCSV?
UseCSV is an all-in-one CSV import product that gives you a delightful CSV importer experience for your users. All you have to do is drop-in the UseCSV JS library, and create a webhook endpoint to receive uploads. This takes away all the headaches of building CSV import functionality in-house .
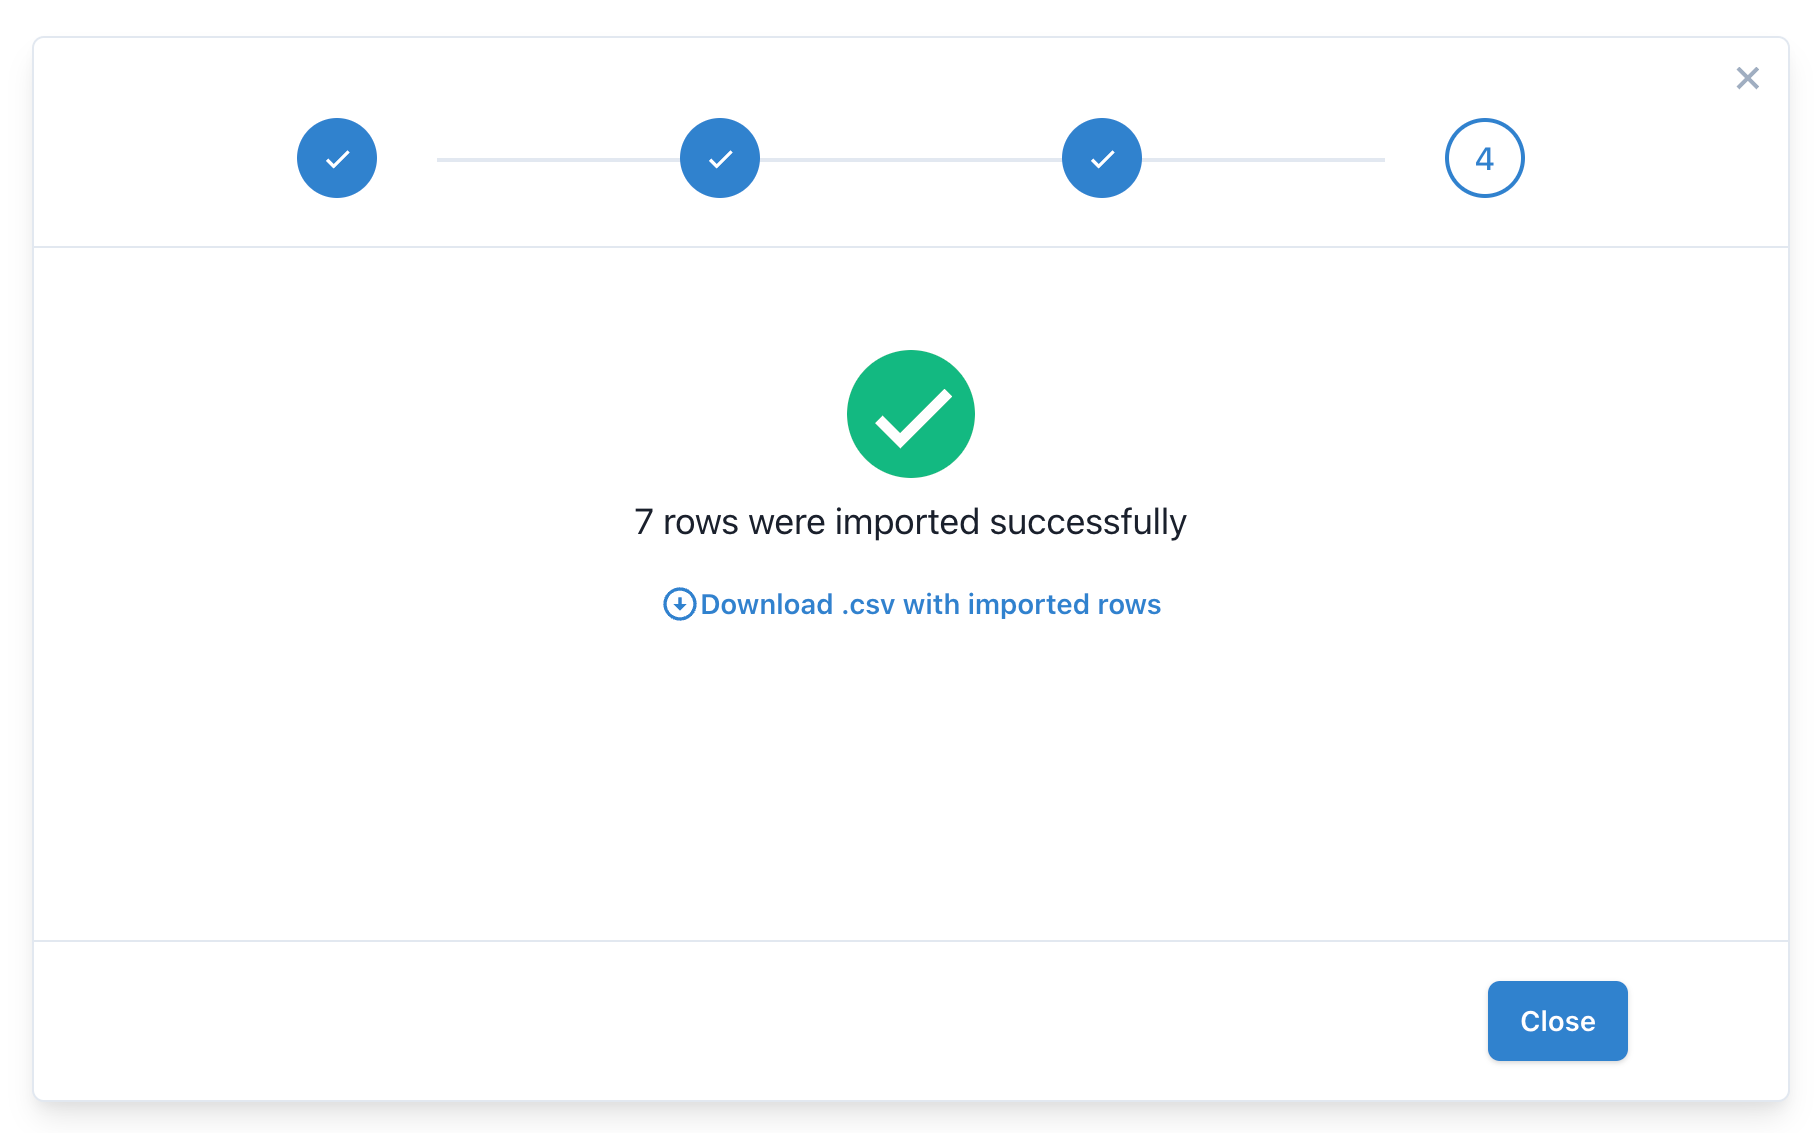
Here's a sneak peak of what the import experience will be for your users (this opens in a modal inside your app):
Here are just a few of the awesome features of UseCSV:
- Frontend libraries which add the UseCSV import button and modal to your app
- Receive imported data as a webhook or callback
- Automatic smart column matching
- Supports CSV and all Excel formats (xlsx, xls, xlt), including legacy Excel versions
- Handles large import files
- Includes a library of common validation rules to choose from
Without further ado, let's get started!
Setup your UseCSV account
You'll want to first grab a free UseCSV developer account. Once you've signed up and logged in, you'll see an Importer called "My First Importer" which has already been created for you.
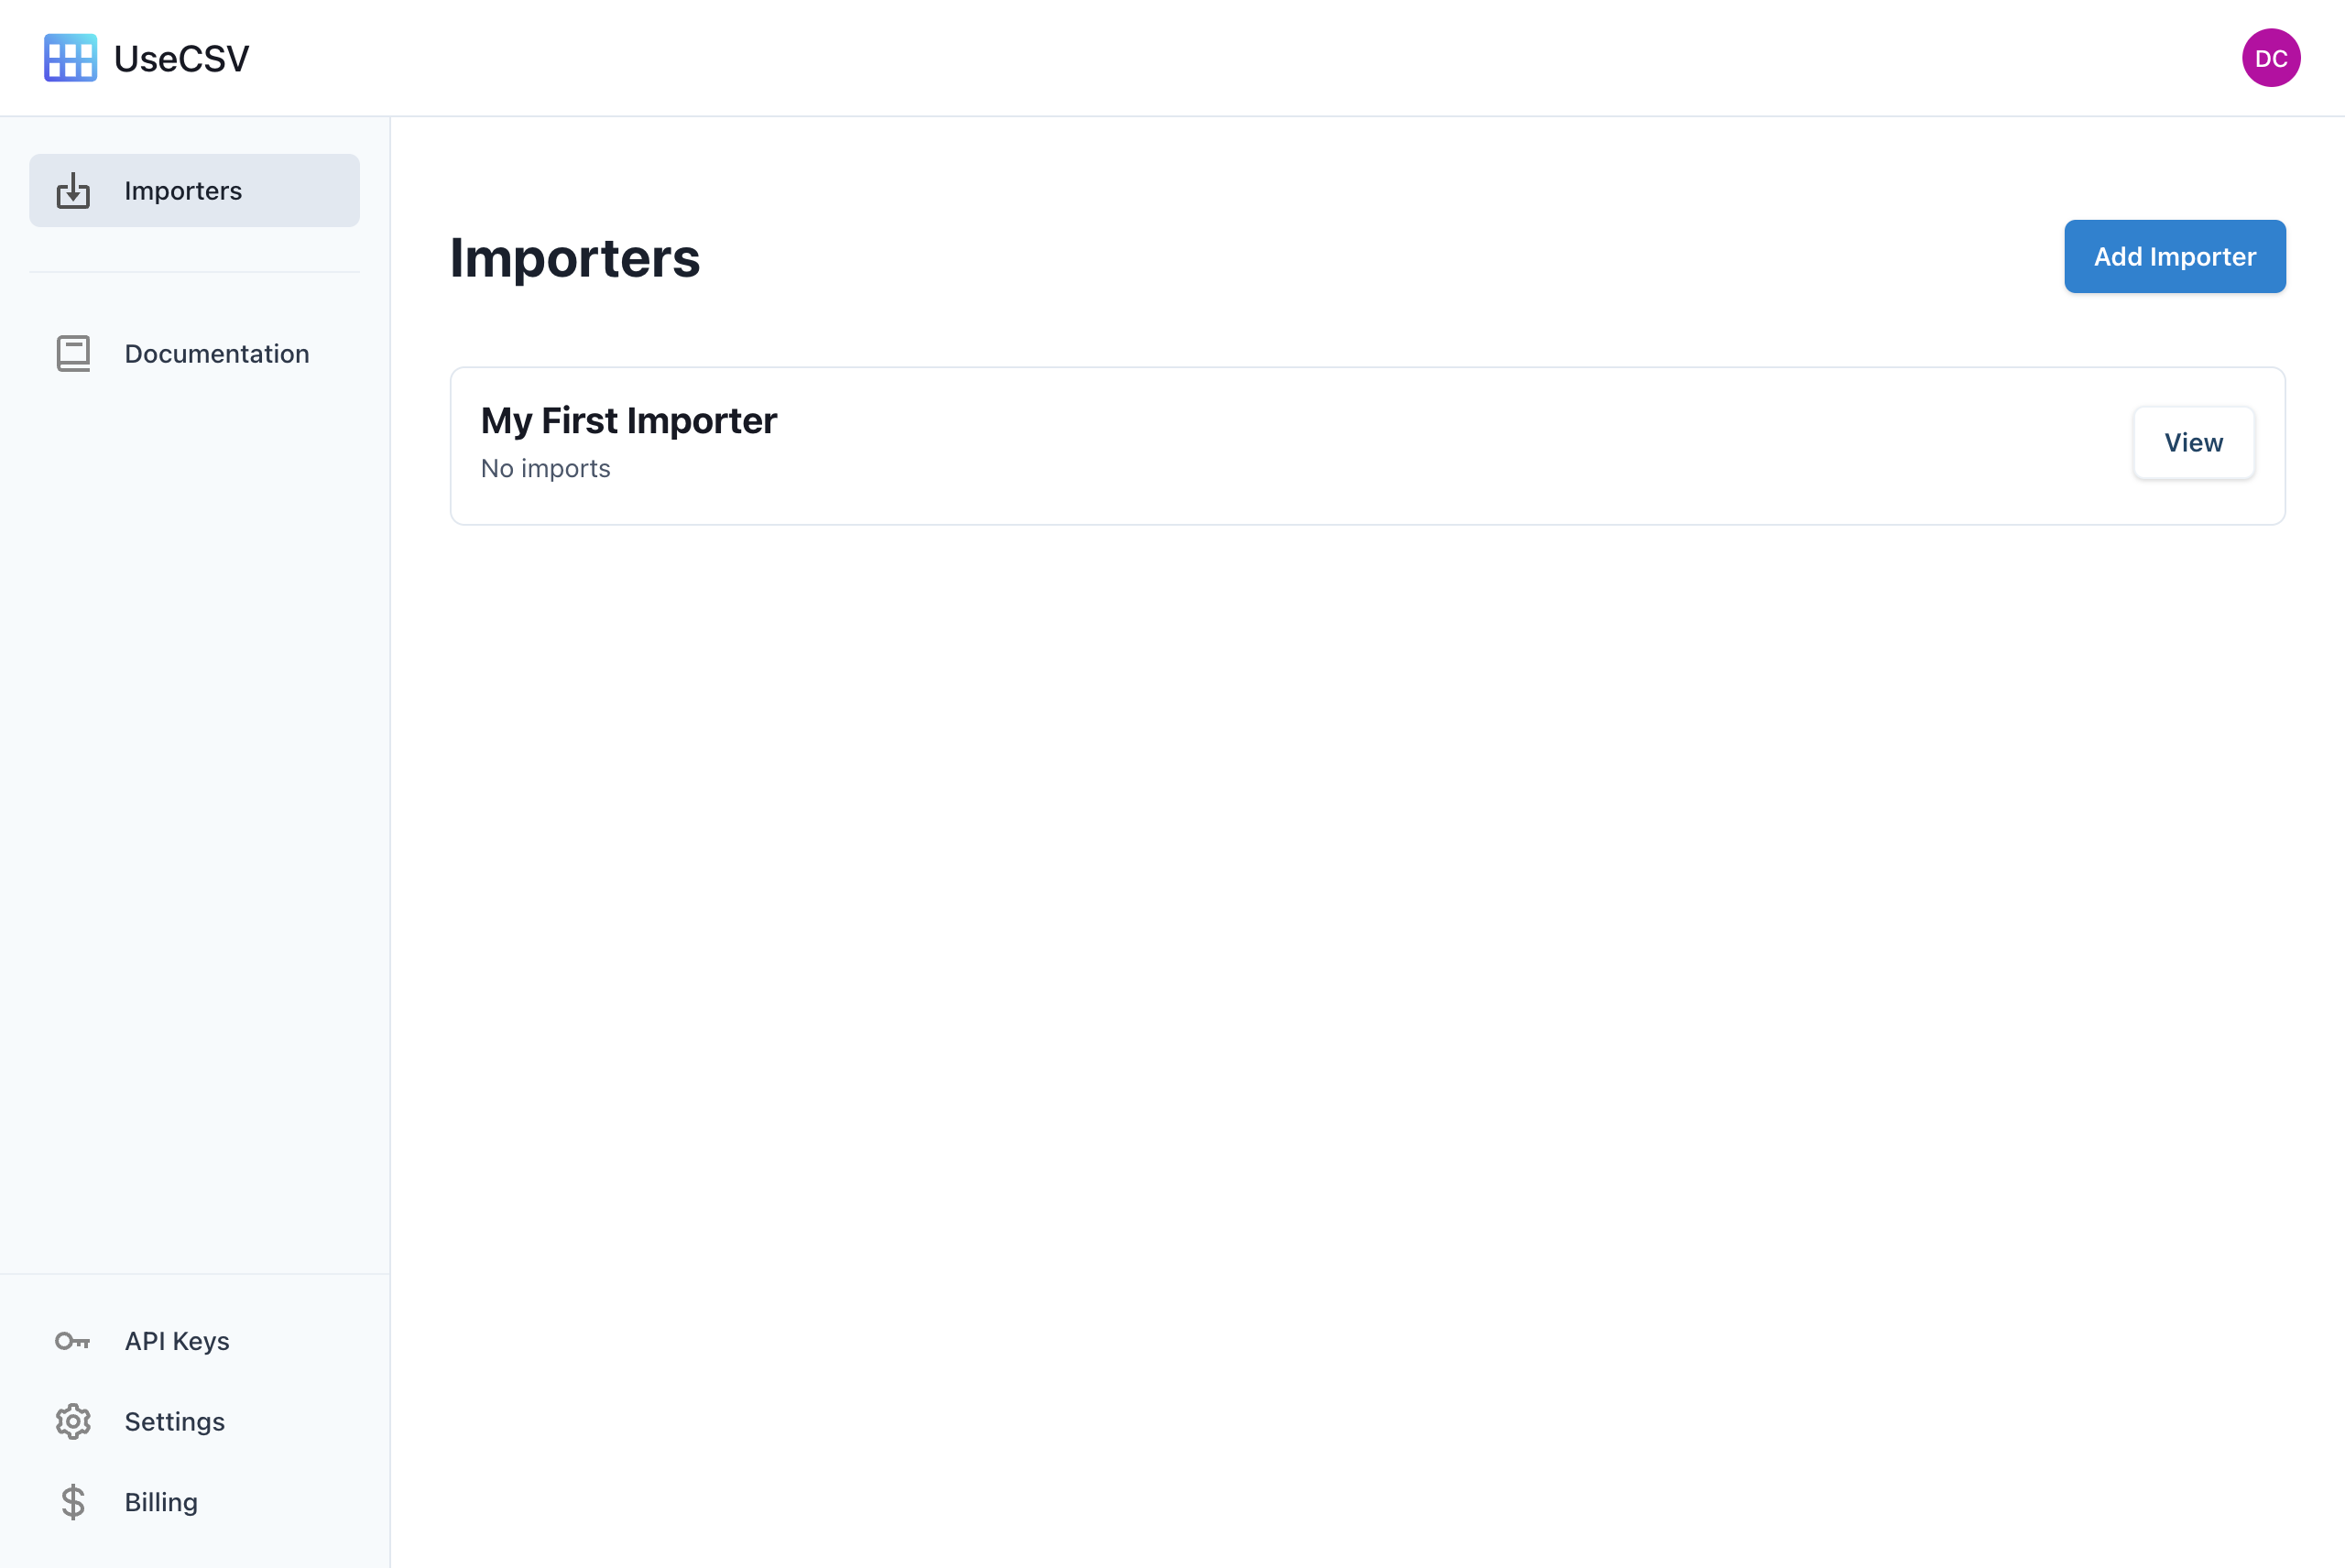
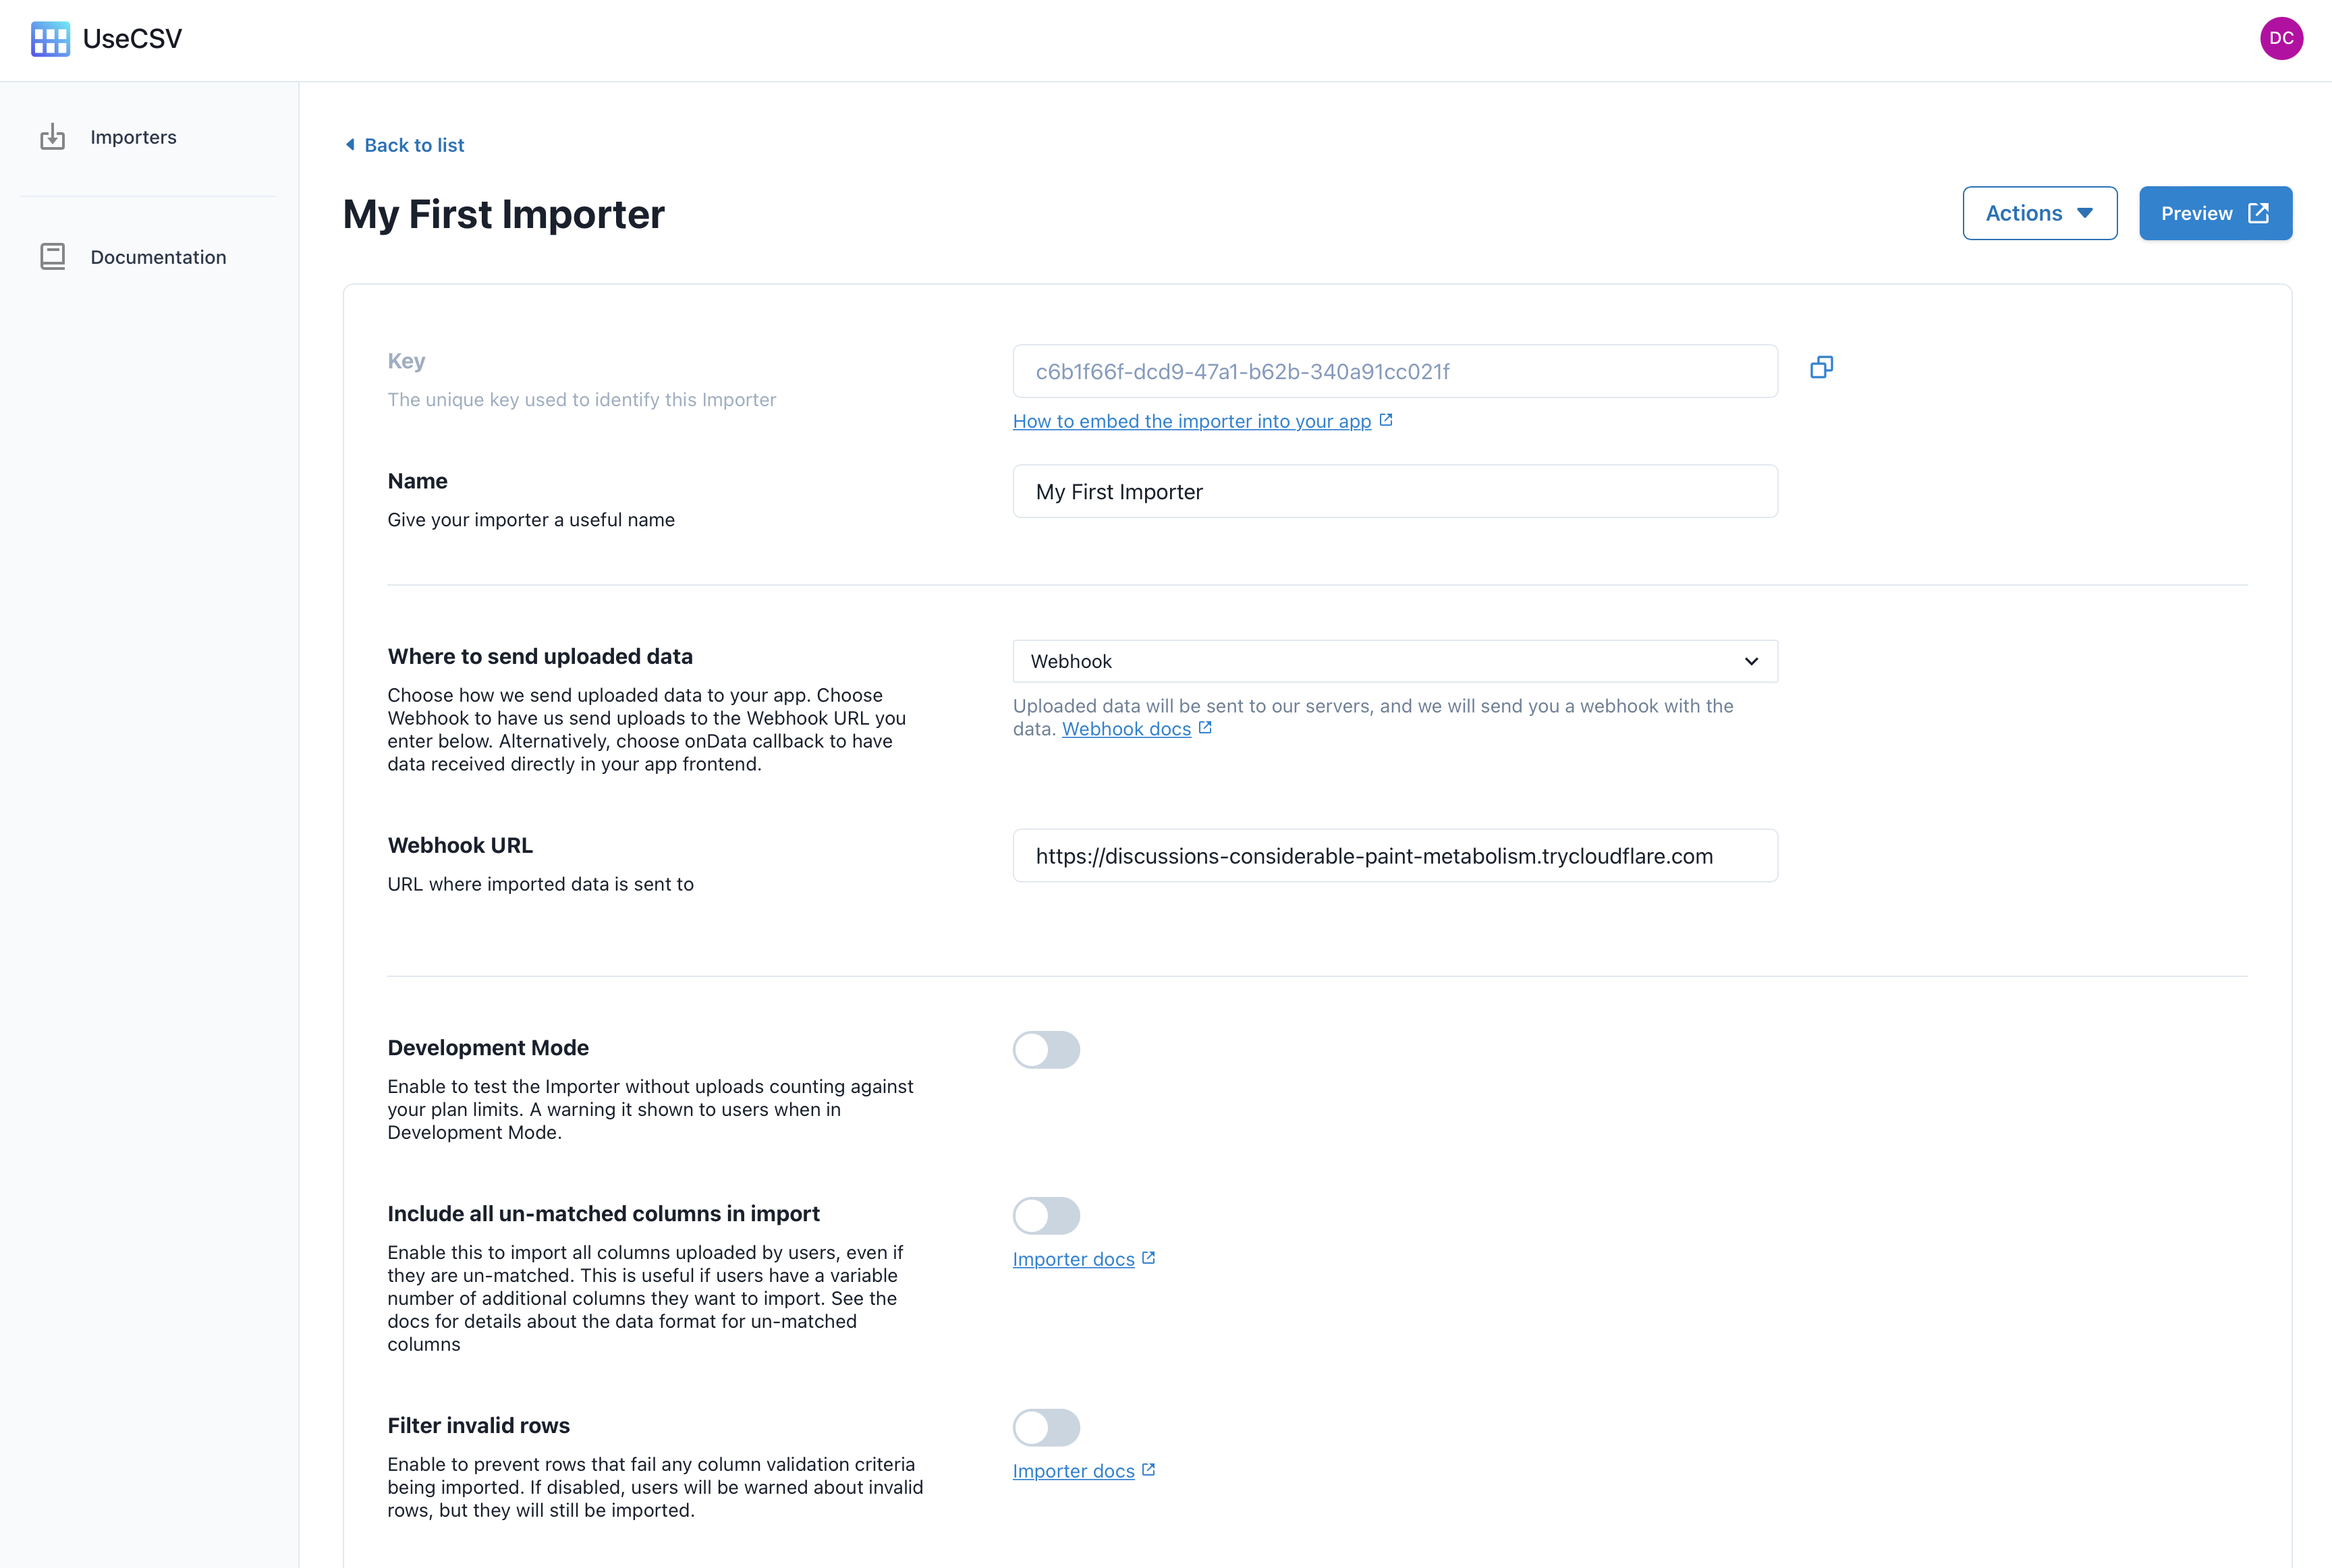
Click the View button. Here you can configure your Importer. Note the Key and Webhook URL fields, we'll need these later on.
Head down to the Column section, where you can setup the data model for this Importer.
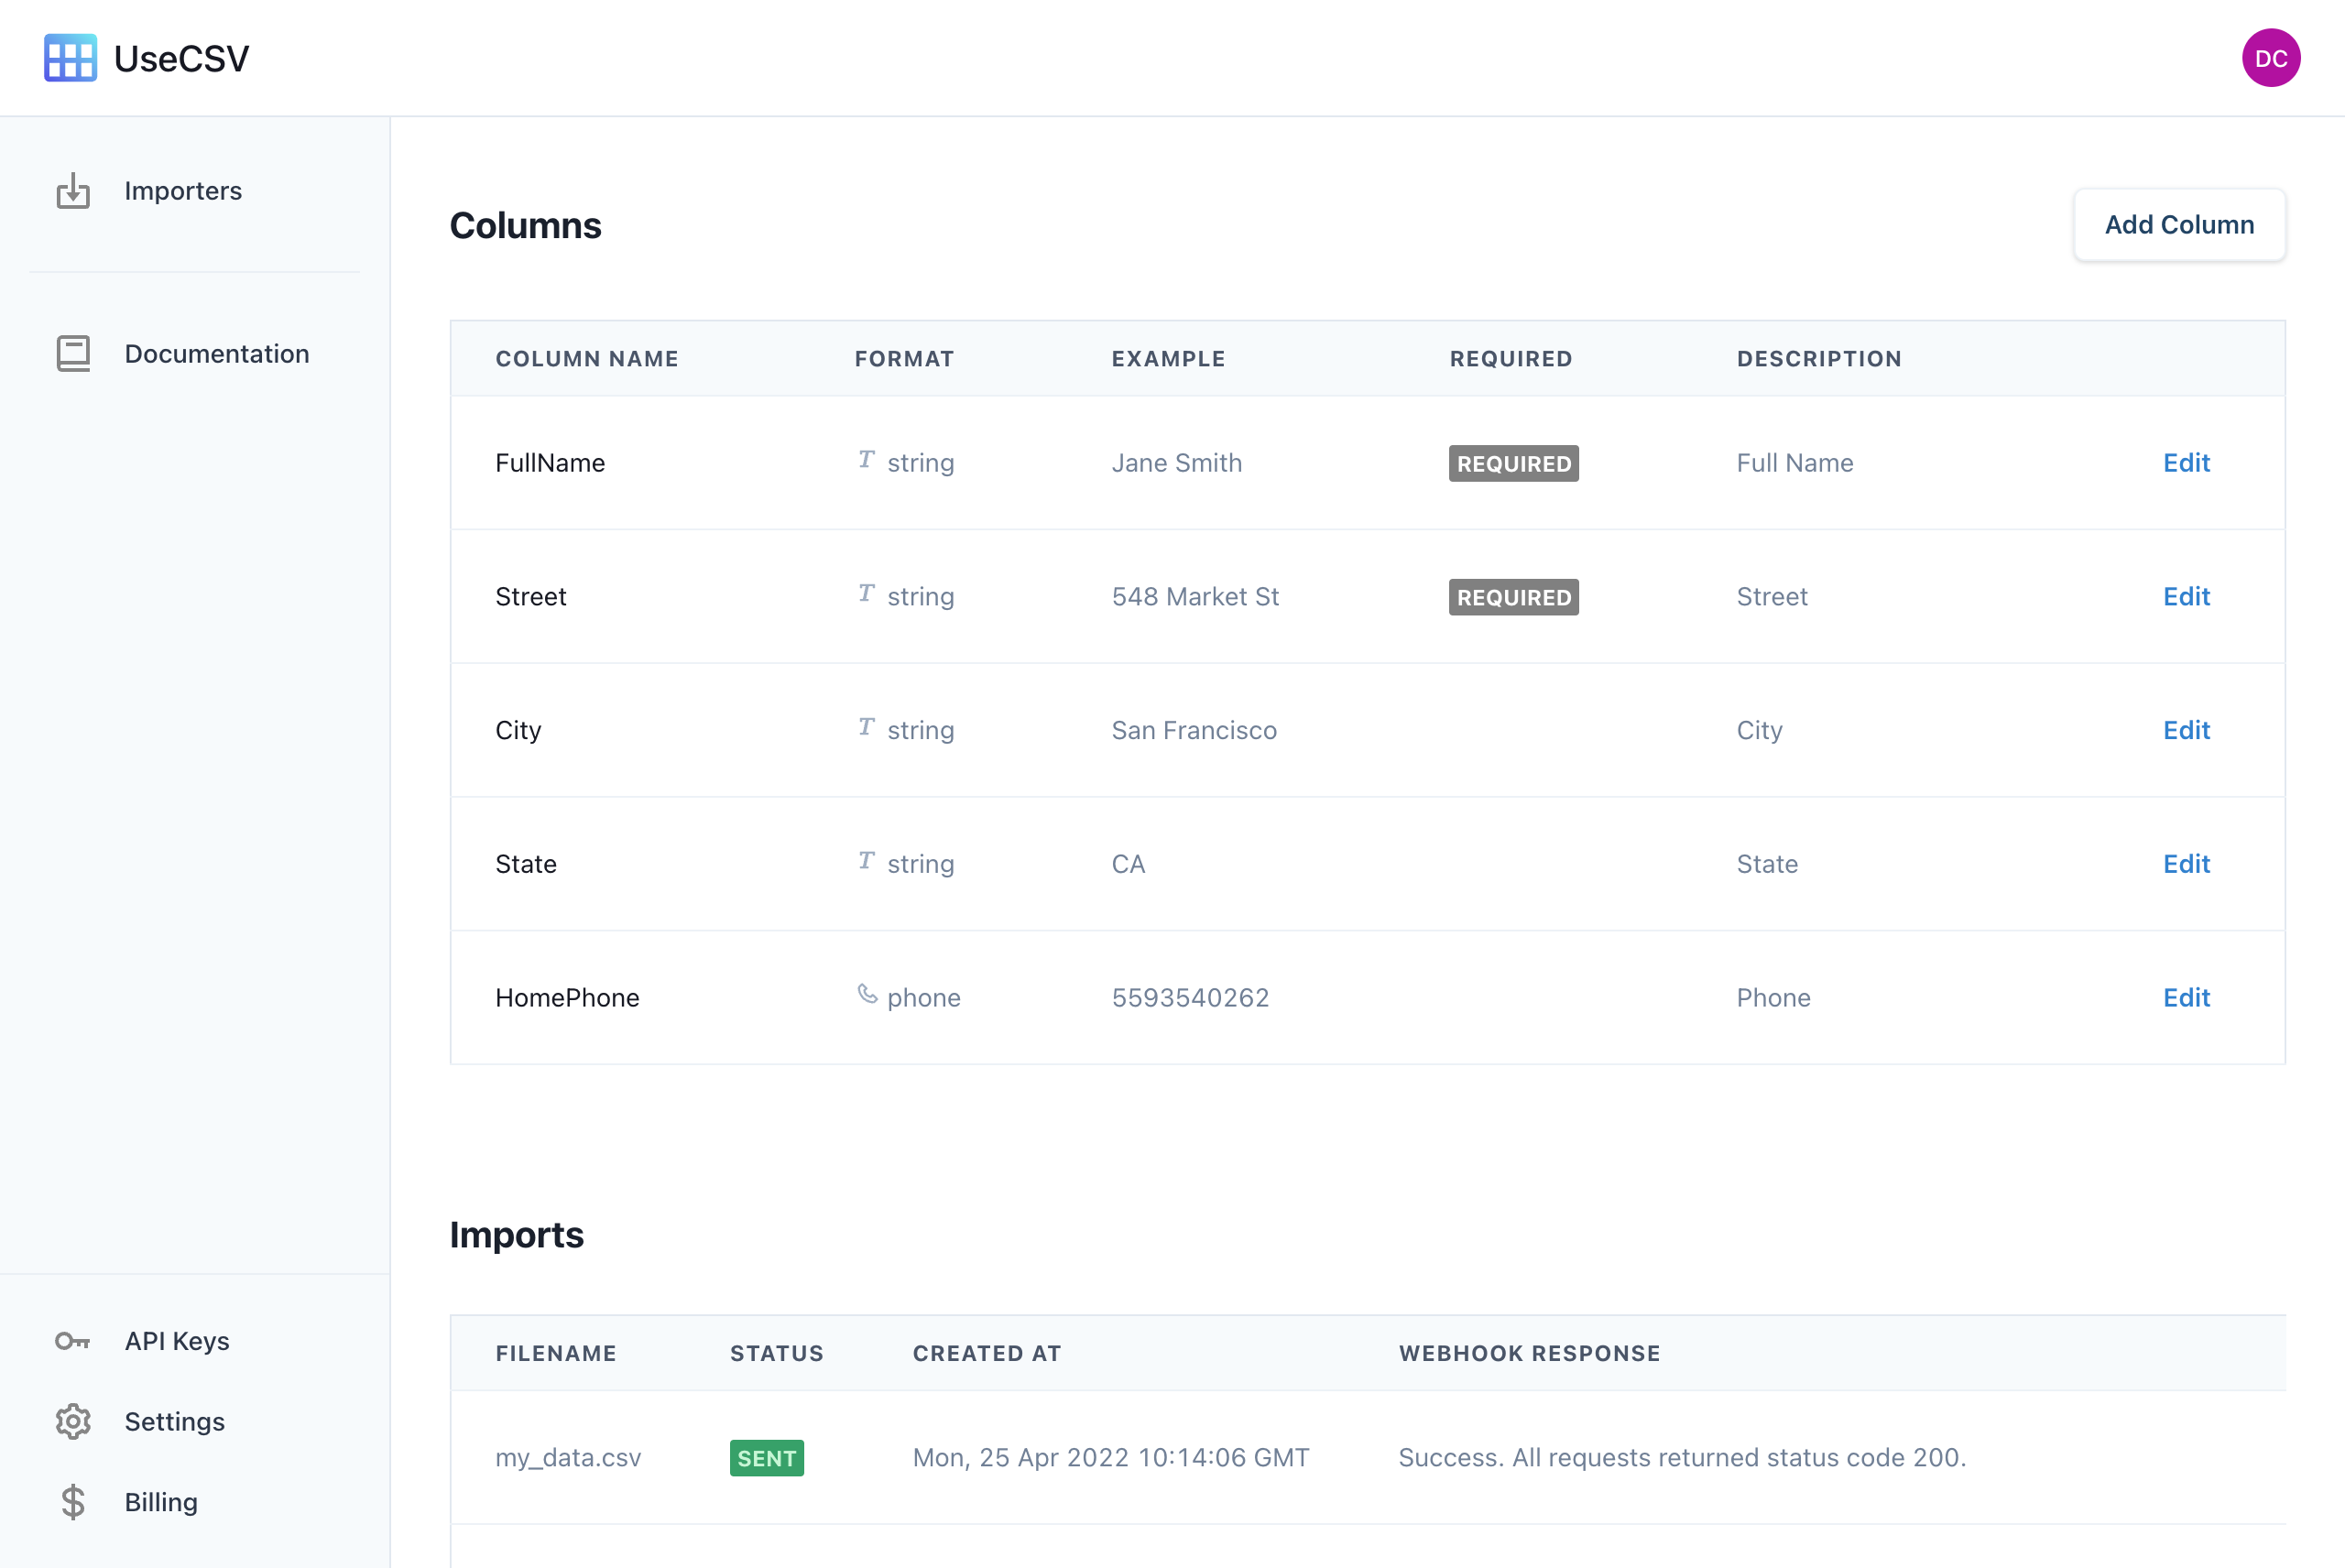
Click Add Column to create a new column, for example you could add a first_name column to begin with. Create as many columns as you like.

Add CSV import to your Next.js app
Now your UseCSV Importer is setup, it's time to create a basic Next.js project and integrate UseCSV.
First create a basic Next.js project.
npx create-next-app usecsv-nextjs-example --use-npm --example "https://github.com/vercel/next-learn/tree/master/basics/learn-starter" cd usecsv-nextjs-example
Then install the UseCSV React library.
npm i @usecsv/react
Let's add the UseCSV React component to our app now. Edit pages/index.js, import @usecsv/react and then add the UseCSV component into the page. You'll also need to insert your actual importerKey, which can be found by going to the Importer in your UseCSV dashboard.
import Head from 'next/head' import styles from '../styles/Home.module.css' import UseCSV from "@usecsv/react"; export default function Home() { return ( <div className={styles.container}> <Head> <title>Example UseCSV Project</title> </Head> <main className={styles.main}> <UseCSV importerKey="INSERT YOUR IMPORTER KEY HERE" user={{ userId: "yourUserId" }}> Import Data </UseCSV> </main> </div> ) }
The user param us a JSON object that can be used to pass additional data which is included in the import. This is especially useful when you need to match up which user in your app an upload comes from. You can use any key-value pairs you like.
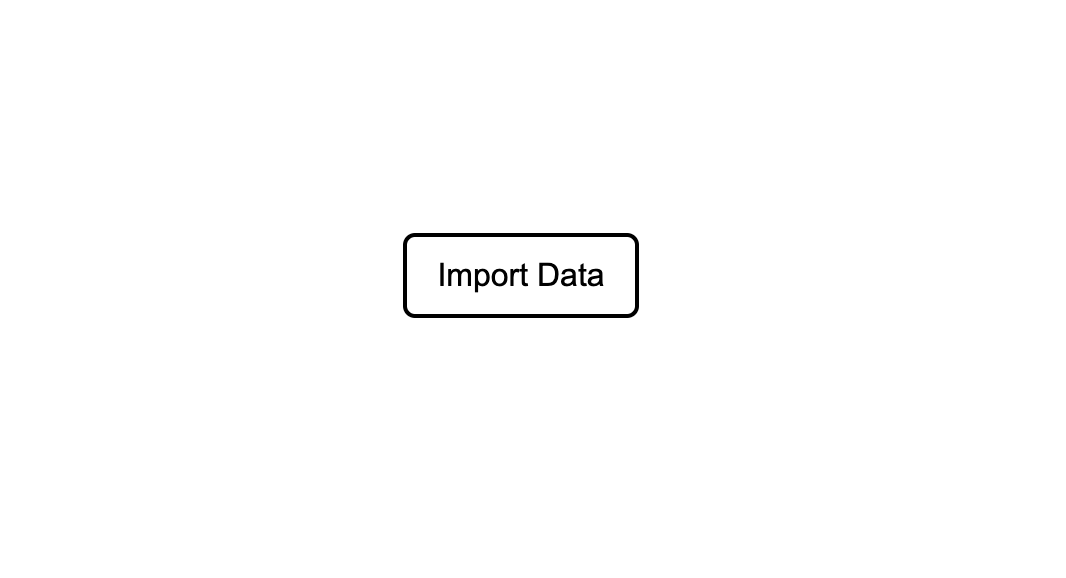
Launch the Next.js server with npm run dev and visit http://localhost:3000. Your app will now have a fancy Import Data button.
Receive data from imports
When a user imports data, UseCSV can send it to your app in two ways. The first is via a webhook. You set a Webhook URL in your Importer which UseCSV will make a POST request to, including the data in a JSON body. You can read more about the UseCSV webhook format in our docs.
Alternatively, if you want to keep uploaded data local or handle saving it in your frontend, you can pass an onData callback function to the UseCSV component. You can read more about the UseCSV onData callback in our docs.
We're ready to try your first import!
Goto http://localhost:3000, click Import Data to open the Importer modal, upload a CSV file (you can download an auto generated sample .csv on the first step), match the columns and then click Import.
And that's it! Be sure to checkout the UseCSV documentation for more details about all the great features available.

